How to create document on Verif Tools
So, this is a quick guide that will tell you how to use our service. First, let's look at how our service can be useful. Surely you often need photos of documents for your absolutely honest purpose.
With Verif Tools you can create passports, ID cards, driver's licenses, bills, and bank statements of different countries in just a few minutes.
1. Register or log in
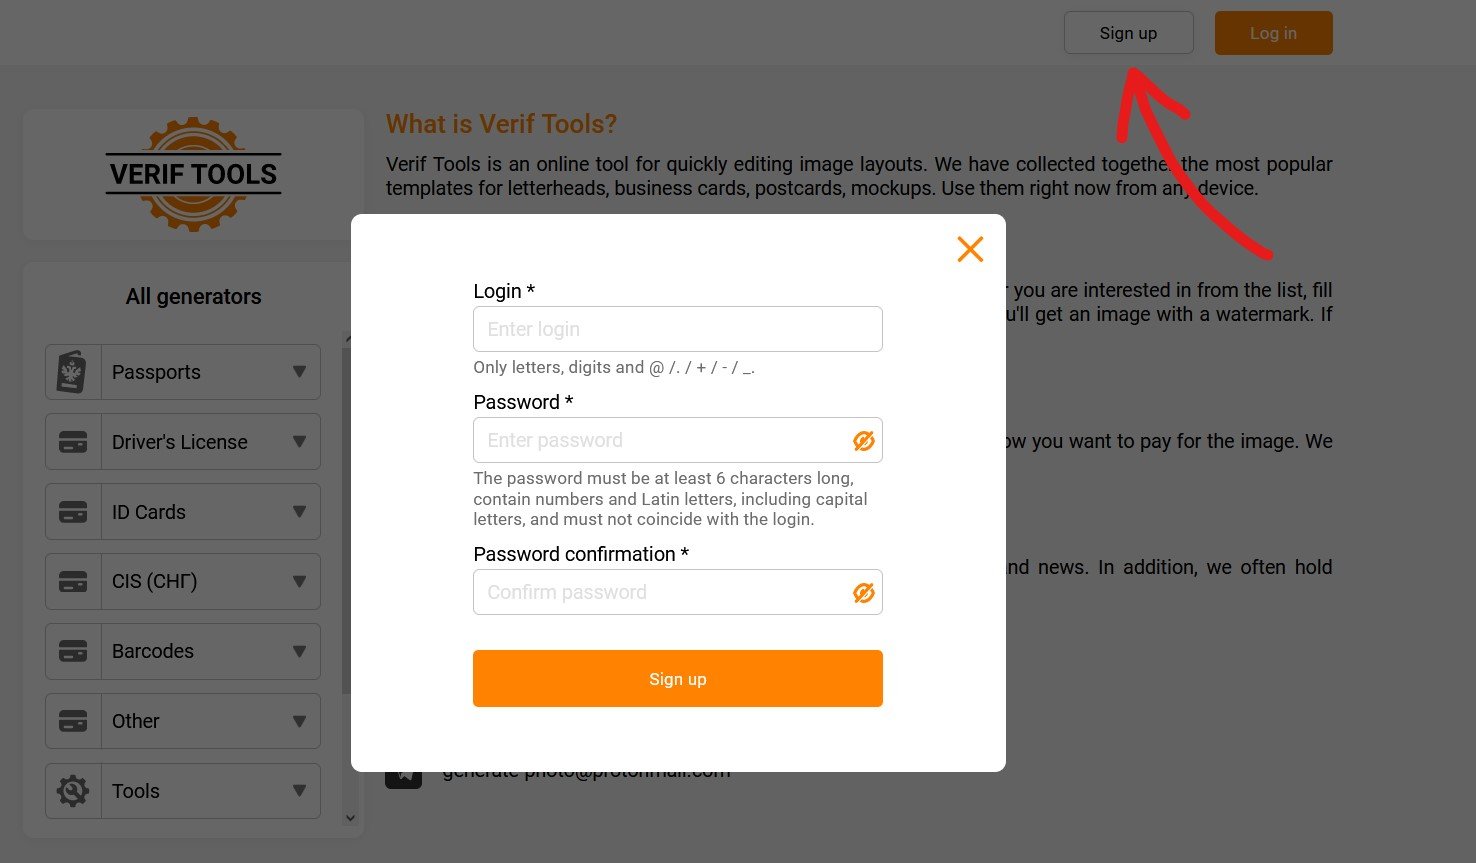
First of all, you need to register or log in to our website. It's very easy – just login and password!
2. Select a document
Go to our website and select the required document from the generator list in the sidebar.
3. Fill in the fields
Enter your personal details (name, address), numerical fields (dates, document numbers, codes), upload a photo, and choose a background and signature if needed. Make sure all required fields are filled in before generating.
4. Generate the image
Click the Generate button and wait for processing to finish. If something goes wrong, see our error helper or typical problems guide.
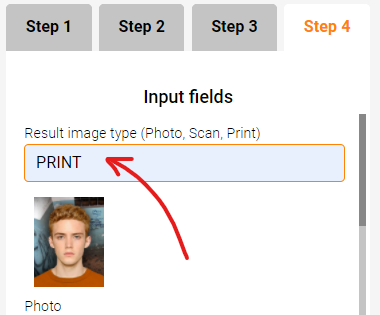
5. Create a PRINT image
To create an image of the document, select the PRINT option.
6. Add to cart and buy
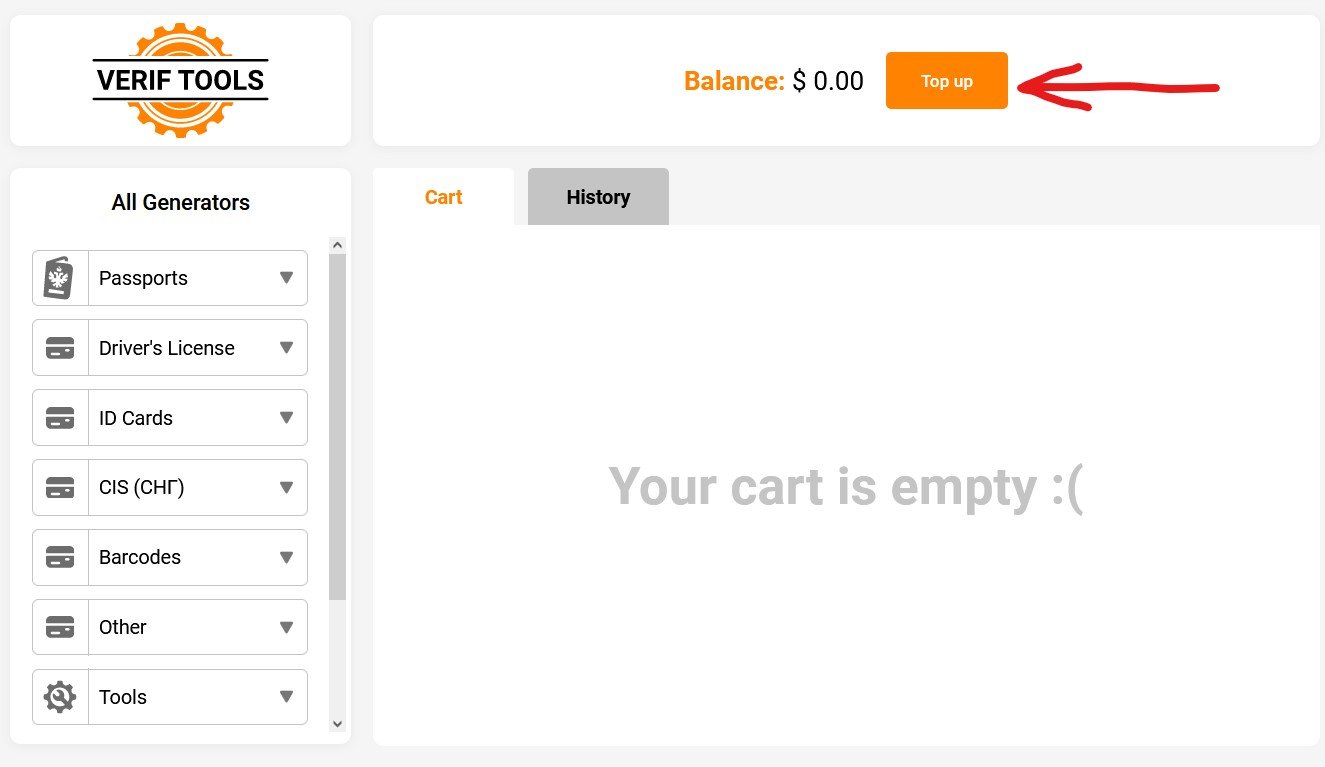
Add the resulting image to your shopping cart and buy it. If you don't have enough balance, go to the cart and top up first – read how to top up balance for details.
7. Download your image
After payment, download the image from your account. You can now use it for printing, verification, or follow our selfie tutorial if you need a photo with the document.
Have a nice day and successful verifications! =)